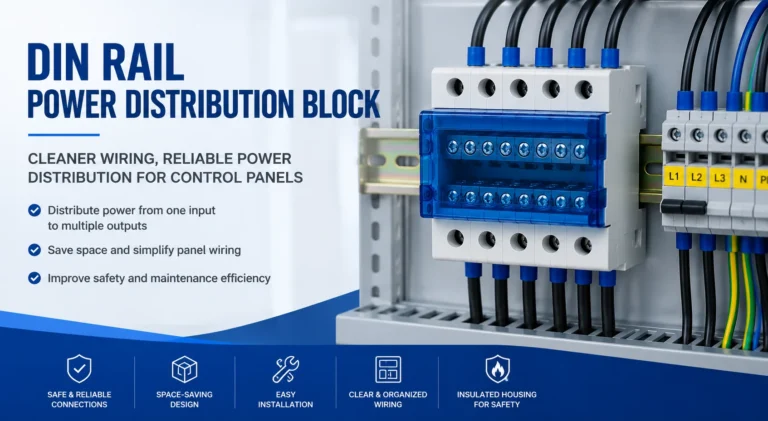
How to Install a Power Distribution Block in Electrical Panels
Table of Contents
Installing a power distribution block in an electrical panel is not a complicated task, but it is one where small mistakes can lead to long-term issues — overheating, unstable connections, or difficult maintenance later on.
For engineers, installers, and procurement teams, the objective is not just to complete the installation, but to ensure the system remains safe, stable, and serviceable over time.
This guide outlines a practical installation process based on typical industrial panel practices, along with key considerations that are often overlooked.
Pre-Installation Planning (Often Overlooked)
Before starting the physical installation, it is important to review the system design.
In many projects, installation issues come not from execution, but from insufficient planning.
Key checks include:
- Confirm total load and current distribution
- Verify cable sizes and routing paths
- Identify installation location inside the panel
- Ensure compatibility with existing components
If these factors are not aligned, even a correct installation may result in long-term issues.
👉 If you are still evaluating product selection, refer to:
→ How to Choose the Right Power Distribution Block (2026 Guide)
Where Should the Distribution Block Be Installed?
In most electrical systems, a power distribution block in electrical panels is positioned between the main power input and branch circuits.
Typical placement:
- Near the main incoming power cable
- Centrally within control cabinets
- In areas with sufficient space for cable routing
Good placement ensures:
- Organized wiring layout
- Easier maintenance access
- Better heat dissipation
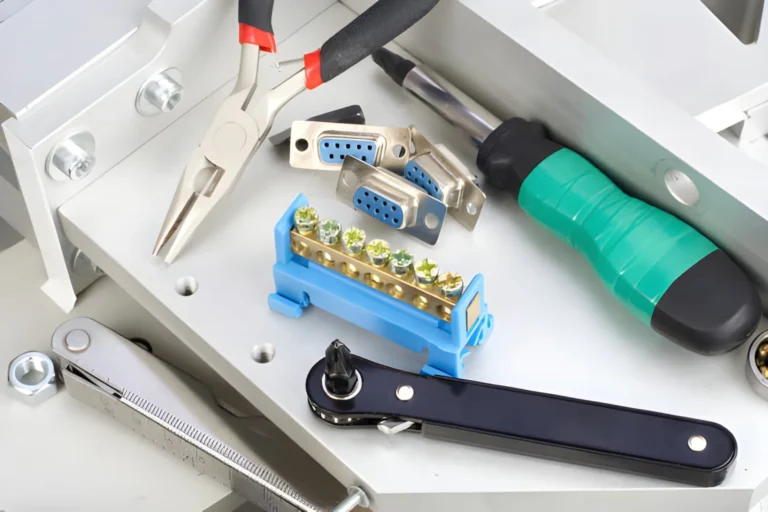
Tools and Preparation
Prepare the following before installation:
- Correct cable types and sizes
- Screwdrivers or torque tools
- Wire stripping tools
- Mounting hardware (DIN rail or panel screws)
Safety preparation:
- Disconnect all power sources
- Verify system is de-energized
- Use appropriate protective equipment
Step-by-Step Installation Guide
Step 1: Confirm Load and Wiring Layout
Before mounting:
- Check system current
- Confirm number of output circuits
- Plan cable routing
Skipping this step often leads to poor layout and difficult adjustments later.
Step 2: Mount the Distribution Block
Mount the block according to its type:
- DIN rail → snap into position
- Panel mount → secure with screws
Ensure:
- Firm fixation
- No movement or vibration
Step 3: Connect the Input Cable
Connect the main power supply to the input terminal.
Important points:
- Strip insulation to correct length
- Insert conductor fully
- Tighten using proper torque
Loose input connections are a major cause of overheating.
Step 4: Connect Output Circuits
Connect each outgoing cable carefully.
Best practices:
- Keep wiring organized
- Avoid crossing cables
- Maintain consistent tightening
Step 5: Inspect Connections and Spacing
After wiring:
- Check all terminals
- Ensure no exposed conductors
- Maintain spacing between cables
Spacing improves cooling and reduces electrical risk.
Step 6: Perform Initial Testing
Before full operation:
- Conduct continuity test
- Verify load distribution
- Monitor temperature during startup
Early detection prevents system failure.
Installation Safety Considerations
In industrial environments, safety is critical.
Always ensure:
- Proper insulation of all conductors
- No exposed metal parts
- Adequate clearance between terminals
- Compliance with local electrical standards
Failure to follow safety practices can lead to:
- Electrical faults
- Equipment damage
- Safety hazards
Common Installation Mistakes
Typical issues observed in projects:
Loose Connections
→ Causes heat buildup
Incorrect Cable Matching
→ Leads to unstable contact
Poor Layout Planning
→ Makes maintenance difficult
Overcrowded Panels
→ Reduces airflow and increases temperature
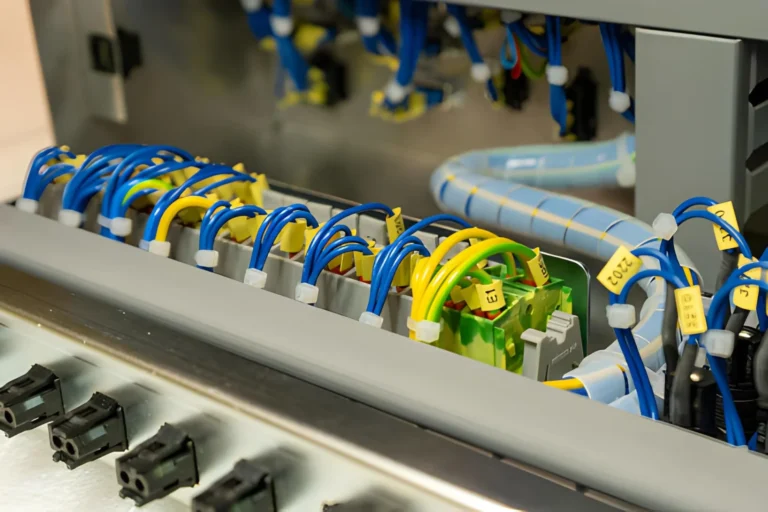
Wiring Considerations
A well-organized wiring layout improves reliability and maintainability.
Recommendations:
- Separate input and output paths
- Label cables clearly
- Avoid sharp bends
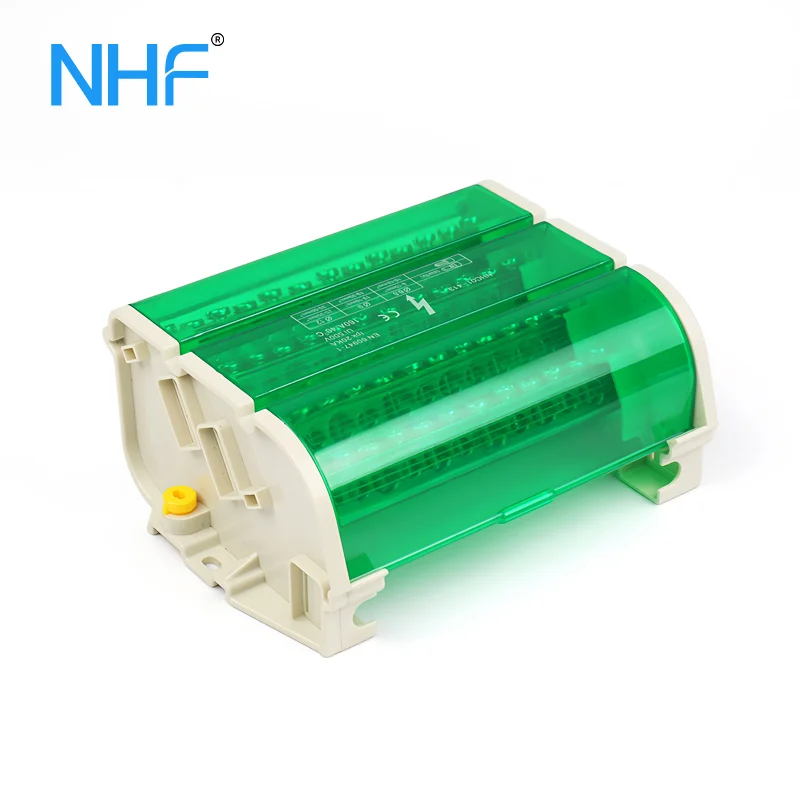
Choosing the Right Product for Installation
Installation success depends on selecting a compatible product.
Key factors:
- Correct current rating
- Matching terminal size
- Suitable mounting method
You can review available configurations here:
👉 NHF Distribution Block Category
Conclusion
Installing a power distribution block correctly requires attention to detail, proper planning, and adherence to safe installation practices.
A well-executed installation improves system performance, reduces maintenance effort, and ensures long-term operational reliability.
FAQ
How do you install a power distribution block in an electrical panel?
Mount the block securely, connect input and output cables properly, and ensure all connections are tightened and tested.
What tools are needed to install a distribution block?
Basic tools include screwdrivers, wire strippers, and torque tools for proper tightening.
Can a distribution block be installed without a DIN rail?
Yes, panel-mounted types can be used depending on the system design.
Why is my distribution block getting hot?
This is usually caused by loose connections, undersized rating, or poor material quality.
Do I need to turn off power before installation?
Yes, always disconnect power before installation to avoid safety risks.